First Steps
This feature is part of the Visforms Subscription and not available in the free Visforms version..
We propose reading the documentation from the beginning, starting with the Introduction We will not repeat concepts and explanations made in previous parts of the documentation, here.
Enable plugin in plugin manager
Please make sure, that you have installed your Visforms Subcription. After that, you have to enable the plugin in the plugin manager before you can use it.
Go to the Administration Panel of your Joomla! installation and click the top menu item "Extensions" and then "Plugin Manager". Search for the list item with the name "Plugin Visforms - Mail Attachments". You can use the search filter above the list. Make sure the plugin "Status" is set to enabled.
Setting up mail attachment options
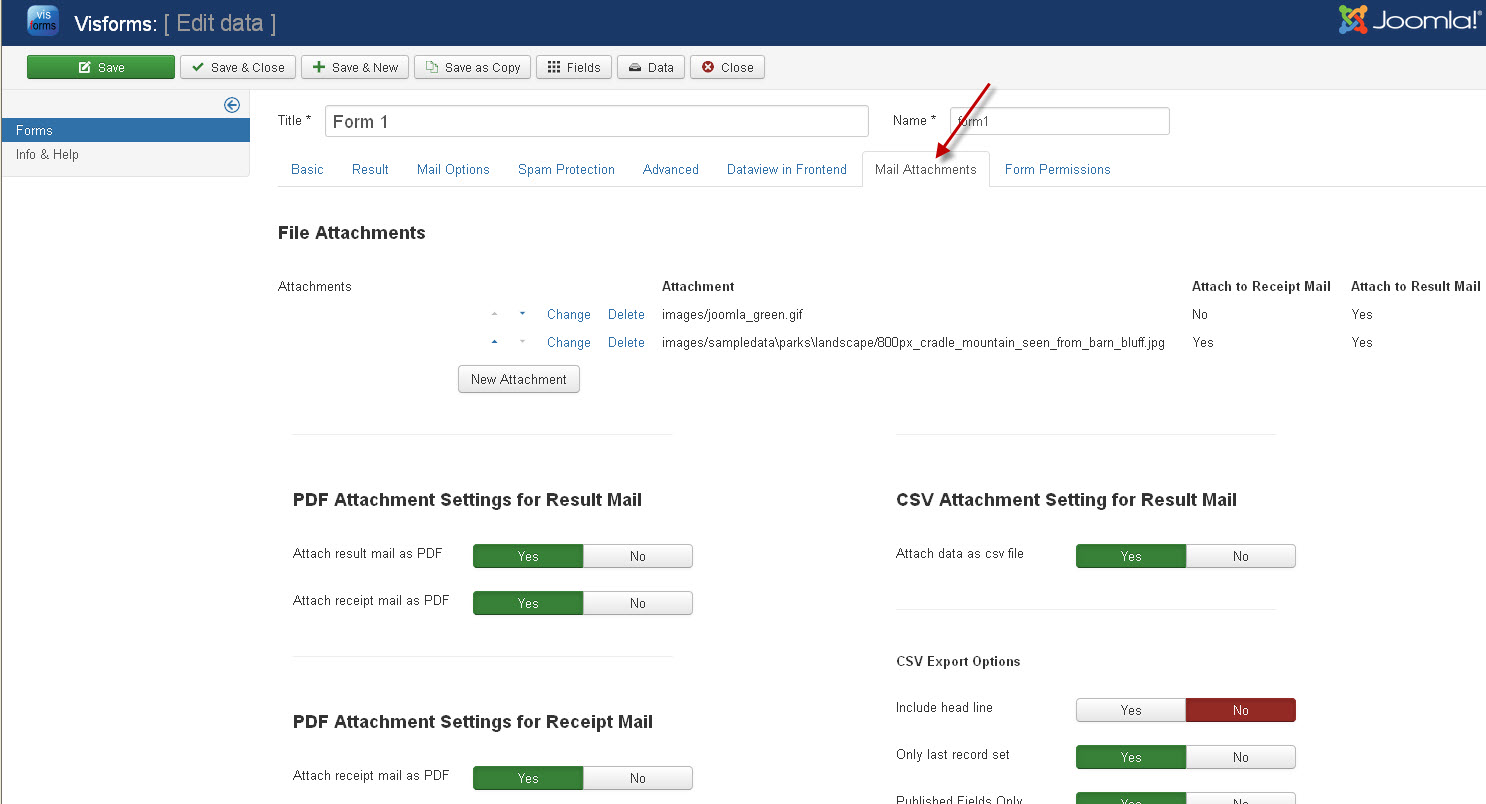
The plugin enables you to set up mail attachment options individually for each form. Therefore all configuration settings take place in the form configuration, where you will find a new tab "Mail Attachements" after having installed and enabled the plugin. Go to Components->Visforms in the administration panel of your website and open the form edit view. Select the tab "Mail Attachements".

Please continue with the following sections in order to learn how to attach files, PDF's of the mails and CSV of data to the mails.
